Posting will be slow during the holidays......but will be done where possible.
May all of you have a Merry Christmas and a blessed New Year!
Andrew

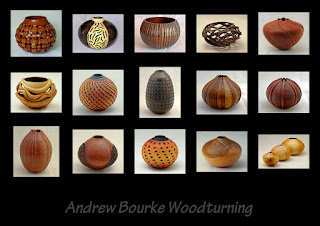
Andrew Bourke's Woodturning journey.......
Saturday, December 24, 2011
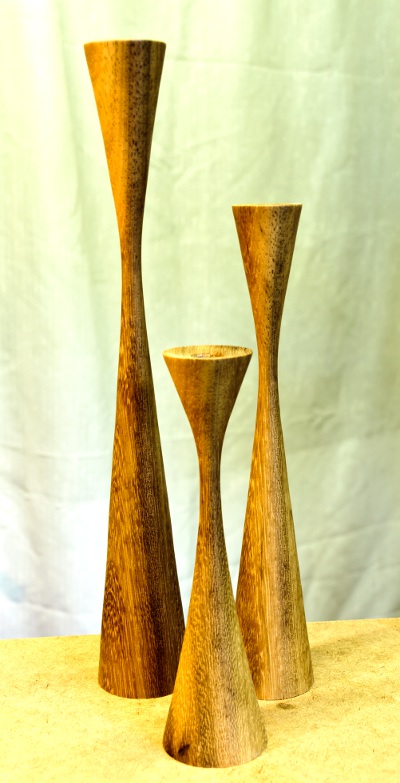
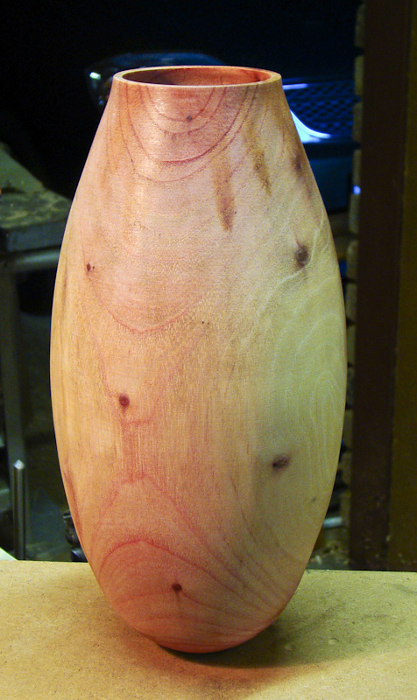
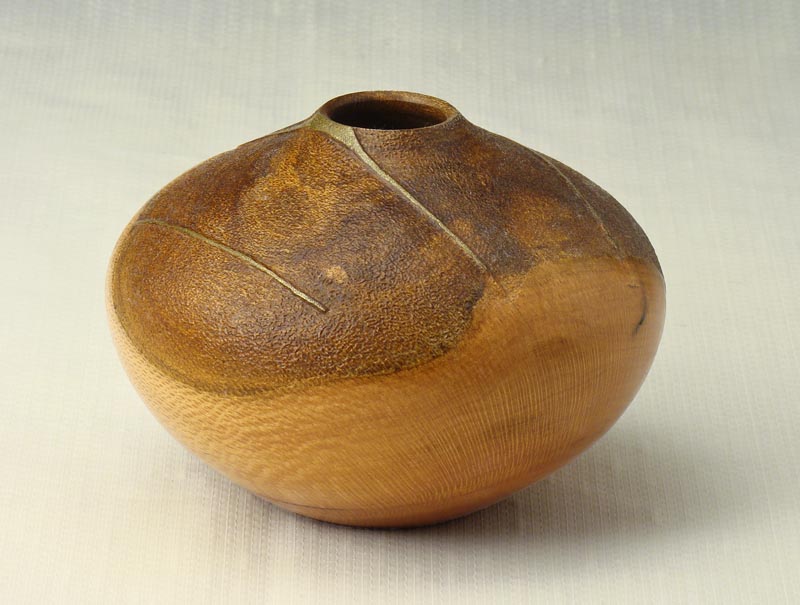
Sunday, December 18, 2011
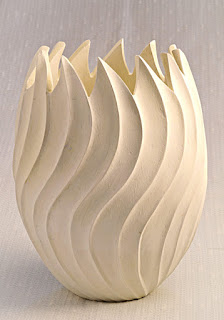
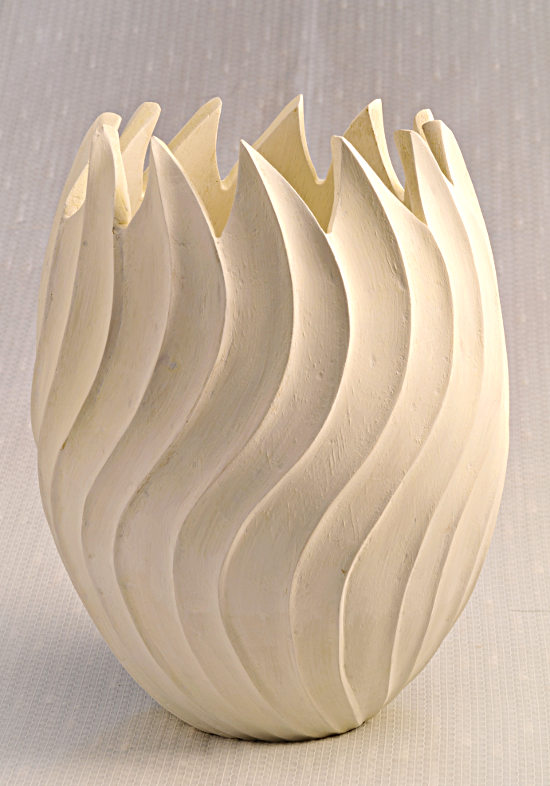
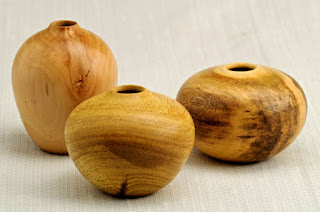
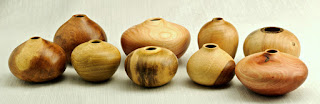
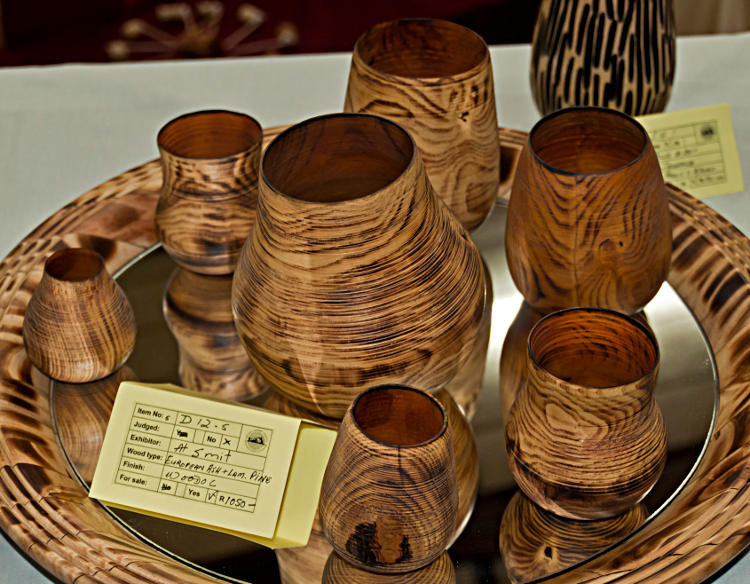
Some more Osolnik
I find this shape to be challenging so I need some practice....
 Here are my latest attempts, made from Teak, the tallest is about 300 mm (12") tall
Sunday, December 11, 2011
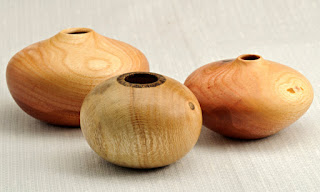
A little bit of Osolnik

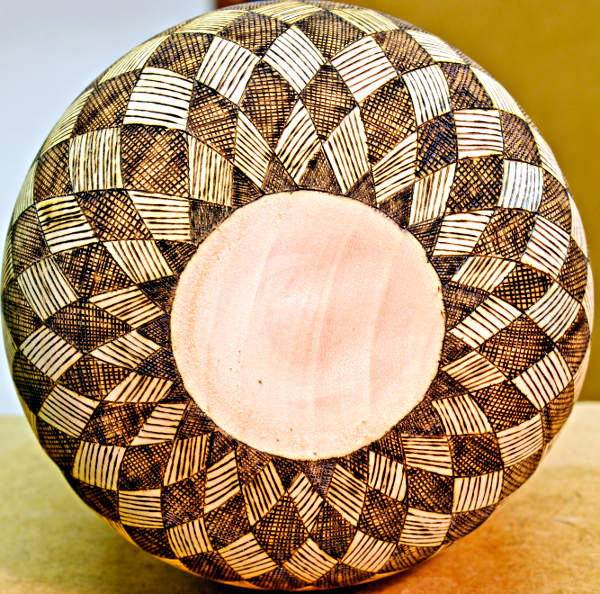
Sunday, December 4, 2011
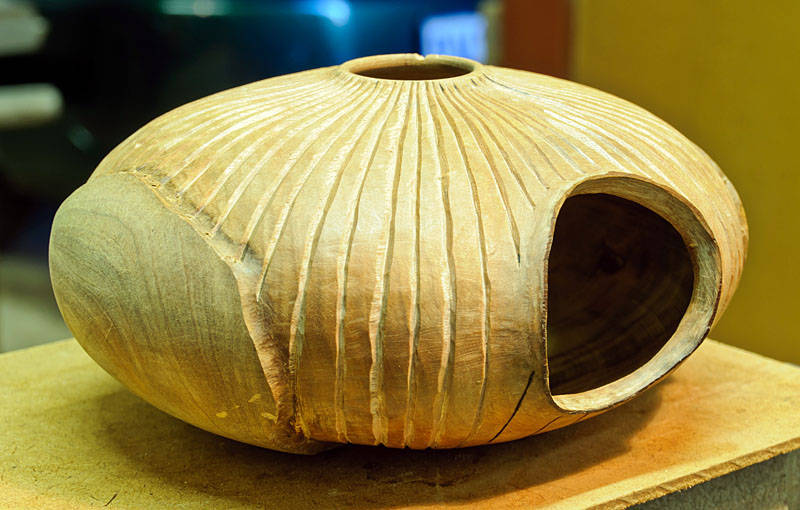
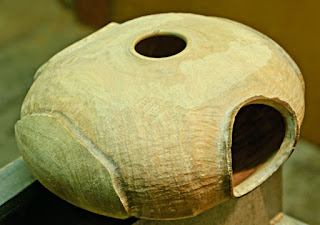
Taking the process one step further...

The wood is Jacaranda and seems to burn quite crisply.
Sunday, November 27, 2011
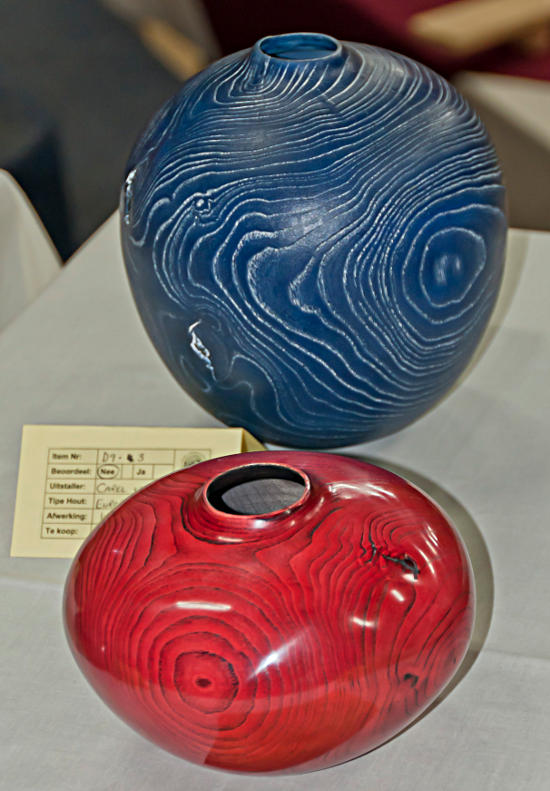
Progress and other options for vessel enhancement

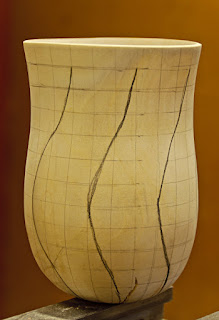
Sunday, November 20, 2011
Taking last weeks process one step further
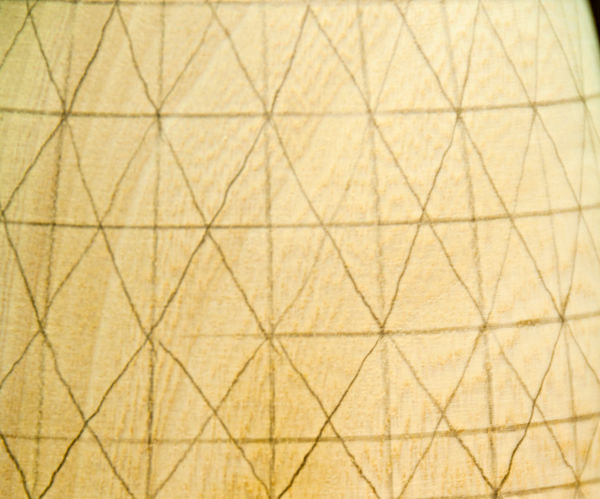
To take the process further; I use the intersections of the lines as a guide.

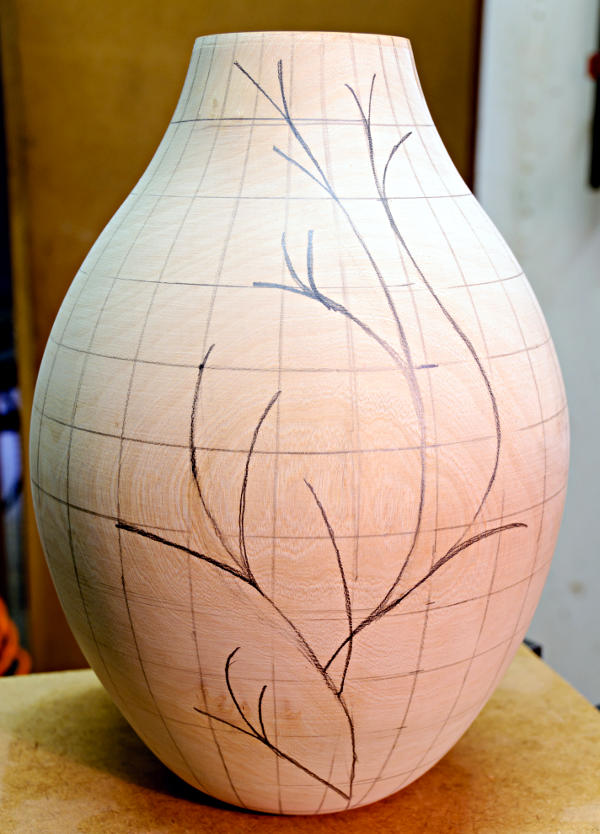
Sunday, November 13, 2011
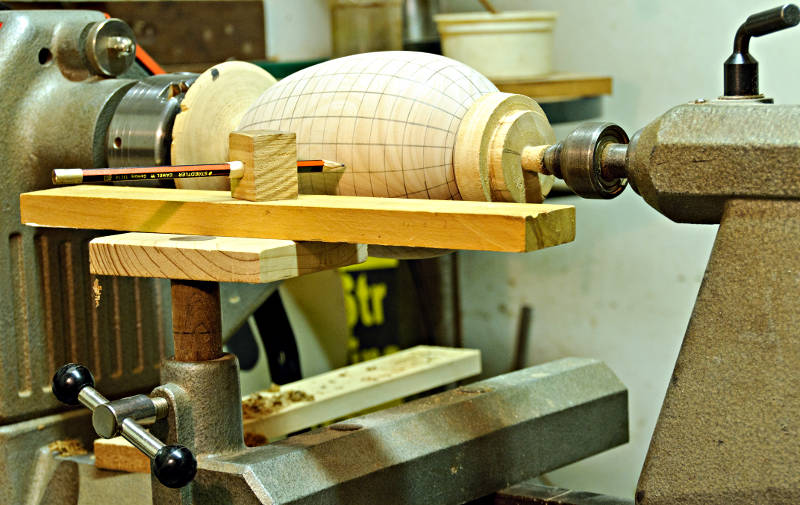
One of the ways I do curves...
I have been busy trying to finish off a piece but don't have much to show in the way of progress. I therefore thought that I might do something different........
Many of my pieces have curves in the enhancements. Here is one of the ways I achieve this.

I use the indexing feature of my lathe and divide the piece into segments (24 in my case). I then divide the height into segments creating a network of " latitude and longitude" lines. Using the intersections of the lines enables me to create endless variations of curves that are smooth and repeatable. The really important part is to ensure that the pencil is on the centreline of the lathe axis.
The end result is something like this:

The pieces shown were turned from Jacaranda some time ago but the time draws near when they need to be completed.
Hope this helps someone!
Many of my pieces have curves in the enhancements. Here is one of the ways I achieve this.
I use the indexing feature of my lathe and divide the piece into segments (24 in my case). I then divide the height into segments creating a network of " latitude and longitude" lines. Using the intersections of the lines enables me to create endless variations of curves that are smooth and repeatable. The really important part is to ensure that the pencil is on the centreline of the lathe axis.
The end result is something like this:

The pieces shown were turned from Jacaranda some time ago but the time draws near when they need to be completed.
Hope this helps someone!
Sunday, November 6, 2011
Little by little
The idea with this piece to make it appear as if it comprises two parts. The inner part is being worked on to differentiate it from the outer shell. Almost like a fruit with some skin peeled off.
The type of wood is unknown to me but I do know that it would take a lot of detail if carved.
Monday, October 31, 2011
Something different this week
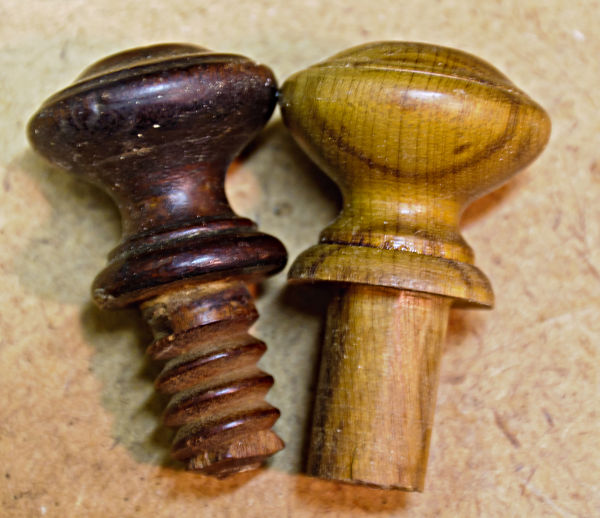
I generally turn vessels so therefore my spindle turning skills do not get much practise. I was recently asked to make a knob for somebody's dresser. .
 Here is the result though I may make another attempt this week. The colour is not close either....
 I also started some work on a previously turned piece. Some work still to go.

Sunday, October 23, 2011
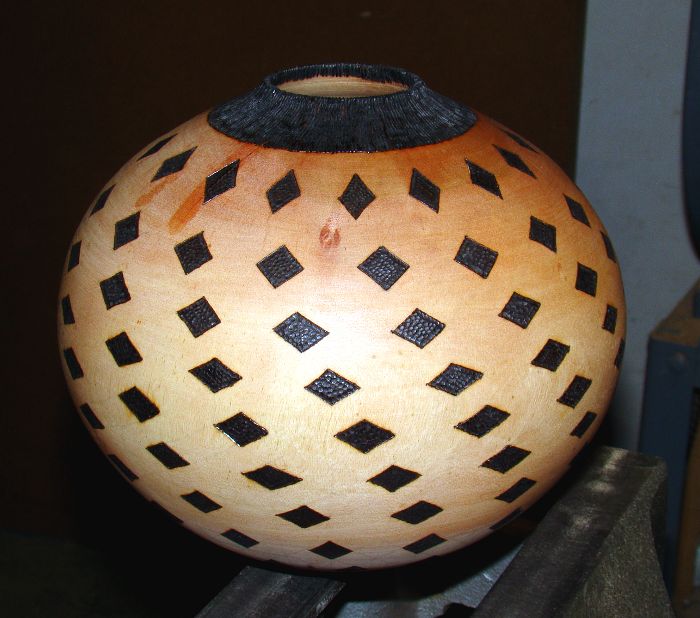
Much burning later...

Made from Karee (Sumach) and stands about 200 mm (8") tall.
Turned thin with a heavier base for stability.
The texturing gives it a weave effect that I like. What do you think?
Sunday, October 16, 2011
A teaser...
This is a teaser for something I started working on this week. I once read that pyrography was especially effective in creating texture so that's where I headed with this piece.

The idea is not to try and be perfect with the lines but to create minor differences. Needless to say that's rather easy - I still need lots of practice with this!

The idea is not to try and be perfect with the lines but to create minor differences. Needless to say that's rather easy - I still need lots of practice with this!
Sunday, October 9, 2011
This past week...
No turning done this week but an emphasis on finishing as I have many items to complete. I'll post a picture of my shelf of items to complete soon...
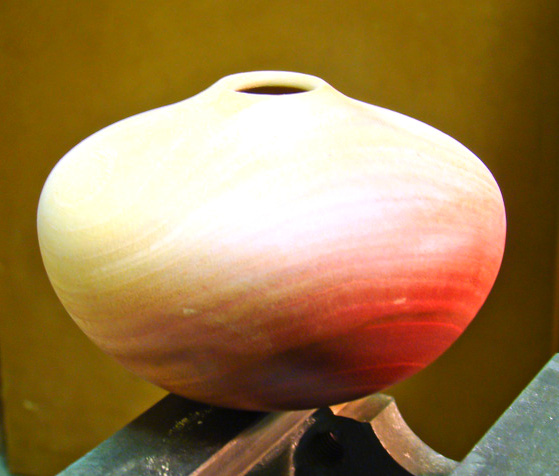
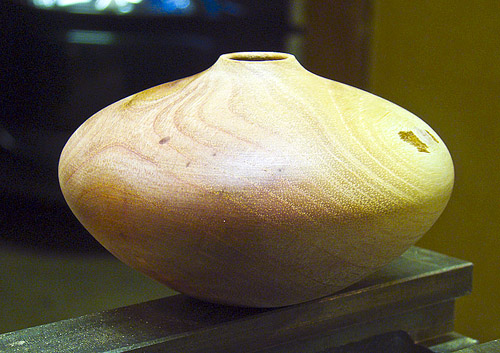
A vase with a different shape for me. Turned wet - as you can see it has warped giving the piece a sense of asymmetry.
About 160 mm tall - Liquid Amber
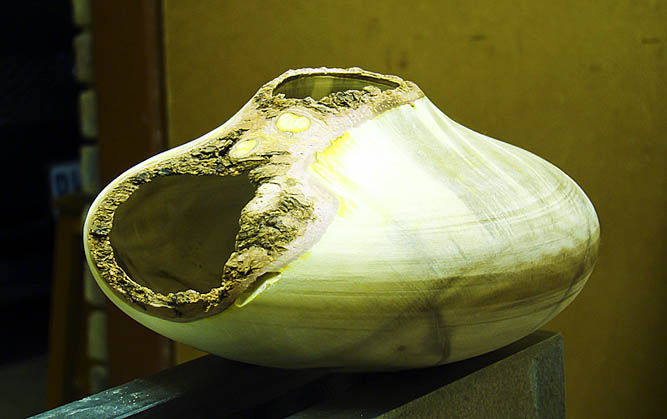
 A near completed natural edge bowl. About another coat of finish to go but already looking very nice.
Made from Indian Mahogany.

A vase with a different shape for me. Turned wet - as you can see it has warped giving the piece a sense of asymmetry.
About 160 mm tall - Liquid Amber
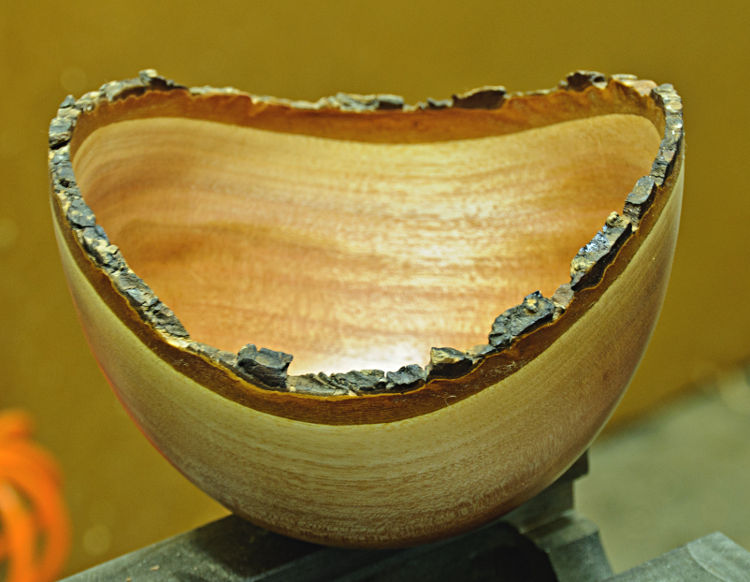
Made from Indian Mahogany.
Sunday, October 2, 2011
Trying for a new effect....
I am always trying out new techniques that I could potentially add to my bag of tricks.
 The wood is River Bush Willow (Vaderlandswilg) which has a greeny/yellow look - not very attractive to my eye, hence the attempt at some colour treatment. We do not have much in the line of bleach (for paint effects) here in South Africa and I am trying a similar effect using pva paint. I do not think that the finished article will be so white as here in the pic but will post the finished article later. Comments on the affect, like/dislike will be appreciated and welcomed.
Sunday, September 25, 2011
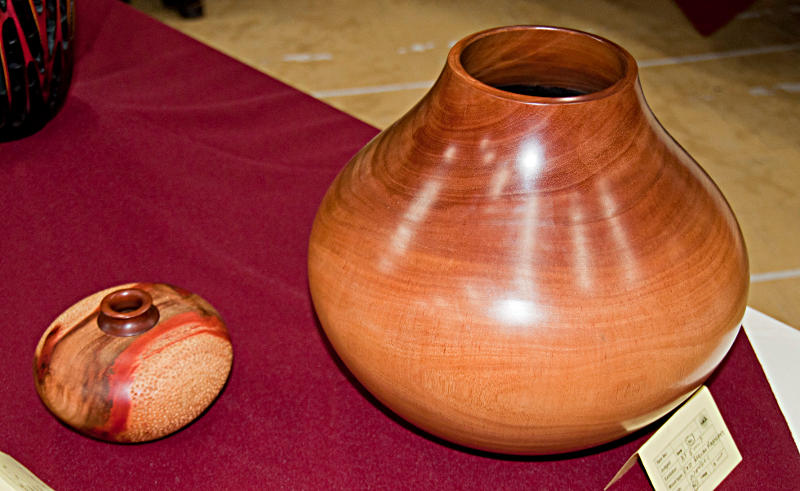
The last of the Indian Mahogany

Sunday, September 11, 2011
Some more Indian Mahogany


Sunday, September 4, 2011
Some formal pictures of items completed...
It's a bit image heavy this week. We had our yearly exhibition last week and items were properly completed. Here's are some better pictures taken in the light tent.
 Some small hollow forms - the nearest one is from Olive
 More small hollow forms - the nearest one is from River Bush Willow
 And yet more small hollow forms. The nearest one is from Silky Oak and the rest from Indian Mahogany.
 The whole gallery - the tallest is 80 mm
 A natural edge that I started while demoing last week at the exhibition. the turning is completed - just sanding and finish to be applied. Made from Indian Mahogany


Saturday, August 27, 2011
Images from yearly exhibition
Sunday, August 21, 2011
Strawberry swirl #3
I am still working my way through the Indian Mahogany in my wood pile.
Next week I'll report on our yearly exhibition here in Pretoria. If you're in the vicinity see my links for further details.

Another small hollow form (I really love the challenge) About 120 mm dia with a coat of sanding sealer.
Next week I'll report on our yearly exhibition here in Pretoria. If you're in the vicinity see my links for further details.
Another small hollow form (I really love the challenge) About 120 mm dia with a coat of sanding sealer.
Sunday, August 14, 2011
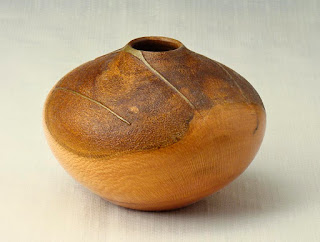
A natural edge hollowform for a change
Monday, August 8, 2011
Some woodturning related ideas...
Marketing your product, is said to be equally inportant as the creative process itself so I have been throwing some ideas around on how to expand visibility (and sales) of my work.
One of the ideas I had was to create a print of my portfolio that I could give to prospective buyers.
What do you think?
One of the ideas I had was to create a print of my portfolio that I could give to prospective buyers.
What do you think?

Sunday, July 31, 2011
Current work

Sunday, July 24, 2011
Strawberry swirl #2
Otherwise spending time sanding some older pieces - watch this space!
Sunday, July 17, 2011
Progress this week
Sunday, July 10, 2011
Strawberry Swirl!
Sunday, July 3, 2011
Variations on Silky Oak #2

Sunday, June 26, 2011
Variations on Silky Oak #1

Here are some pieces made from Silky Oak. The largest is about 200 mm (8") dia. Note how the openings get larger as the diameter increases.Group shots seem to add more than a separate image per piece. What's your opinion of this?
Sunday, June 19, 2011
Old pieces completed...
Life has just been too busy and therefore no post last week.
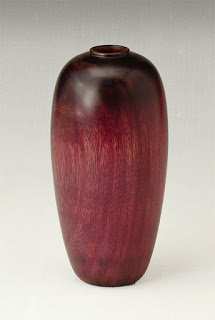 A vase where I have experimented with colour. Made from Jacaranda and about 185 mm (7") tall.
 See earlier posts for more detail. Needless to say it was turned from some very dry and cracked Boekenhout. I filled the cracks with brass filings and superglue. The dark part was textured with a blunt point on an engraver.
Sunday, June 5, 2011
Some more Liquid Amber...
Sunday, May 29, 2011
A start on a new piece
Sunday, May 22, 2011
One finished and another turned


Sunday, May 15, 2011
Nearing the end of this piece....


Sunday, May 8, 2011
The next step....

Sunday, May 1, 2011
Completed the burning and did some repairs....

Subscribe to:
Posts (Atom)